Hardwood floors add character and warmth to any home. One of their best features is that they improve with age, much like a fine wine. Over the years, decades, and even centuries, your floor’s patina has become unique. Each nick and crevice tells a story from the past, adding to the charm. Embrace hardwood flooring for its timeless beauty and durability, perfect for any home renovation or interior design project.
To some extent, golden or grey hues can become drab and mottled. Scratches and gouges can detract from your floor’s natural charm. When this happens, DIY hardwood floor refinishing may be necessary.
When to Refinish Hardwood Floors
1. After Extensive Daily Wear
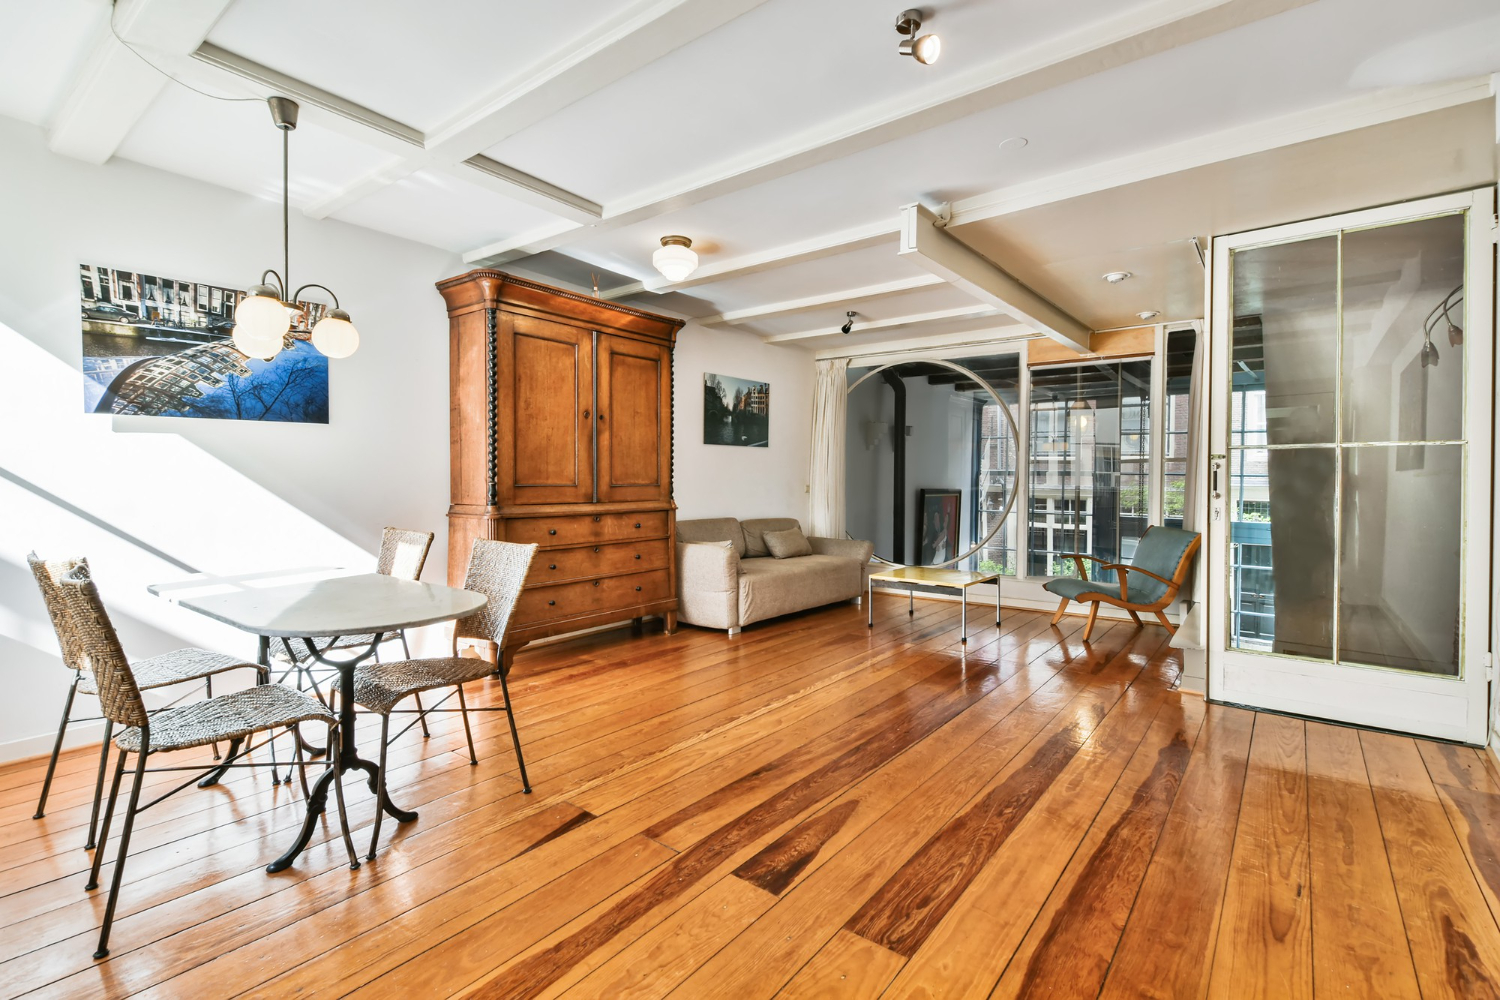
Hardwood floors are known for their durability and longevity but are not immune to spills, pet scratches, chair leg marks, and dirt. Over time, daily use can cause noticeable wear and tear on your hardwood floors. If you see scratches, water damage, discoloration, or a dull finish, it might be time to refinish them. Refinishing can restore their beauty and extend their life, making your home look fresh and inviting.
2. After Removing Other Flooring
If you’ve recently removed old carpet or laminate flooring and discovered hardwood underneath, you can refinish hardwood floors yourself. Refinishing hardwood floors can also help you change their color. You can choose a new stain color for your flooring by sanding off the top layer of stain. This DIY project not only enhances the beauty of your home but also boosts its value. Learn how to refinish hardwood floors and transform your space with a fresh look.
3. After 10 Years
You should sand and refinish hardwood floors every 7 to 10 years. This maintenance routine helps preserve the beauty and longevity of your hardwood flooring. For typical 3/4-inch solid hardwood floors, you can repeat this process 4 to 10 times over the floor’s lifespan. Regular sanding and refinishing keep your floors looking fresh and extend their durability.
Are you wondering if your hardwood floors need refinishing? Here’s a simple test: Drop a few water droplets on the surface. If the water beads up, your floors are likely in good shape. If the water soaks into the wood, it’s time to refinish your hardwood floors. Keep your floors looking their best with this easy check!
Remember that buffing can address minor floor damage, such as shallow scratches that only impact the top sealant layer. Use buffing as a spot treatment, similar to an exfoliator for your floor, to target small areas needing repair. You’ll need to treat the entire floor for a complete floor restoration, including sanding and refinishing. For a pristine finish, optimize hardwood floor maintenance with these essential floor care tips.
Can I Refinish My Hardwood Floor?
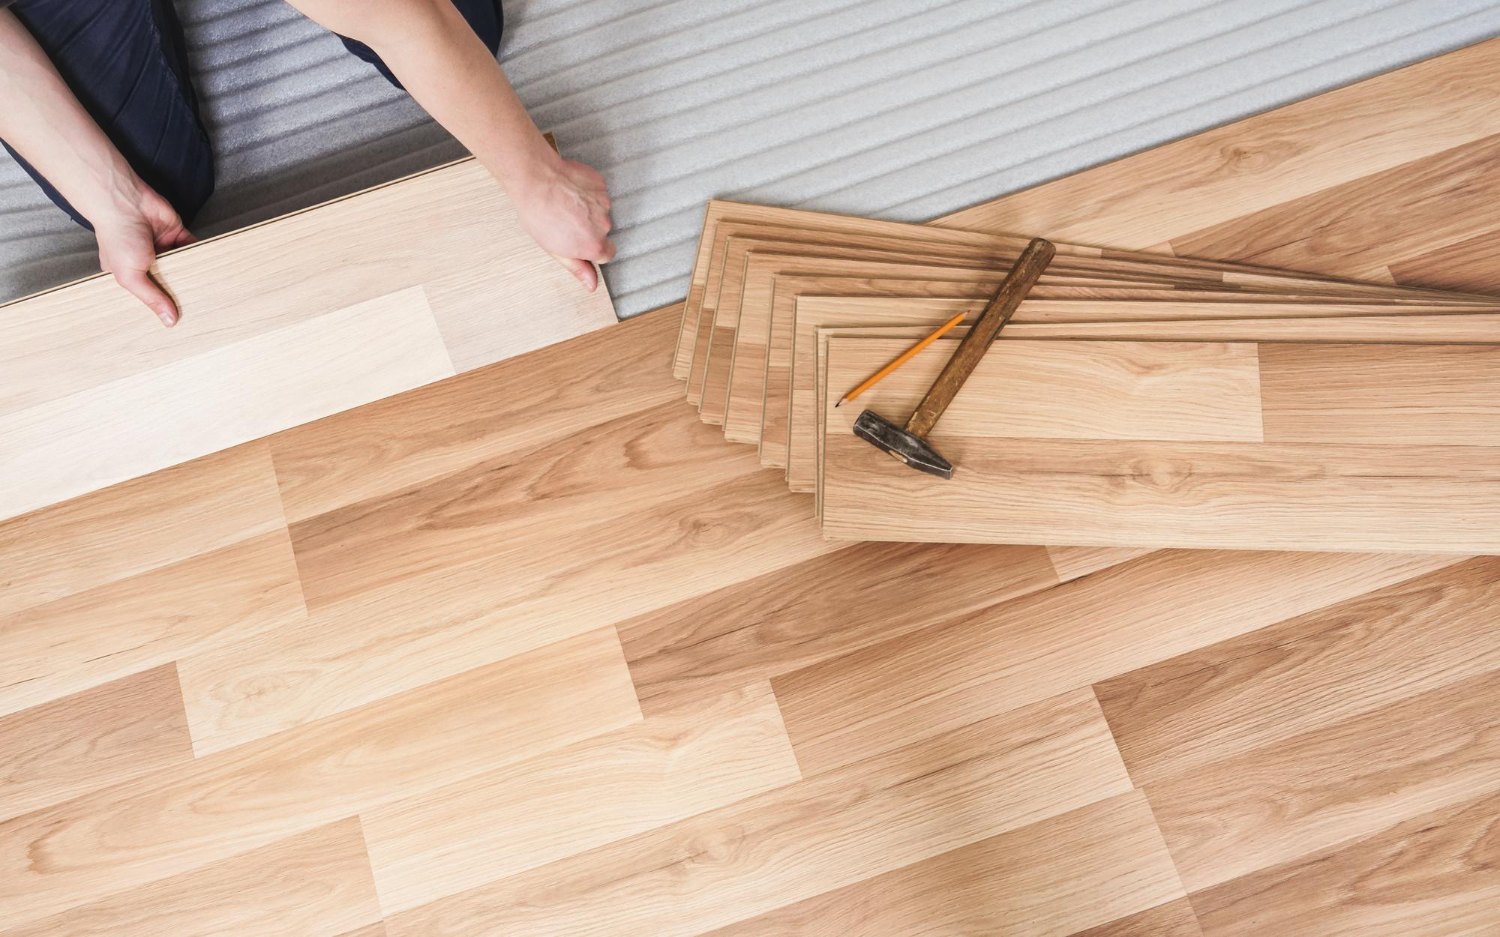
Before starting your floor project, identify your flooring type. Solid hardwood floors are ideal for sanding and refinishing. Engineered wood floors can also be refinished, depending on their thickness. Sanding old hardwood floors removes approximately 0.75 to 1 millimeter of wear. Avoid refinishing if your engineered wood floor’s wear layer is 1 millimeter or less. For more tips on floor refinishing, read on!
Exercise caution when refinishing engineered hardwood floors with wear layers of 2 mm or greater. Track the number of refinishing sessions to avoid excessive sanding. If your floor features a hand-scraped or distressed finish for a rustic, lived-in appearance, sanding and refinishing will eliminate those unique design elements. Ensure you maintain the character of your hardwood flooring by refinishing it carefully.
Keep in mind that you can’t refinish laminate floors. Sometimes, your flooring may be beyond repair, making replacement a better option than refinishing. Signs you need new laminate flooring include:
- Severe water damage causing extensive cupping
- Subfloor structural issues that need repair or fixing
- Significant gaps between floor planks or shifting boards
- Too many exposed nails.
- Over-sanded, leaving the wood too thin for another refinishing process.
How Do I Know if My Floor Is Solid Hardwood or Engineered Wood?
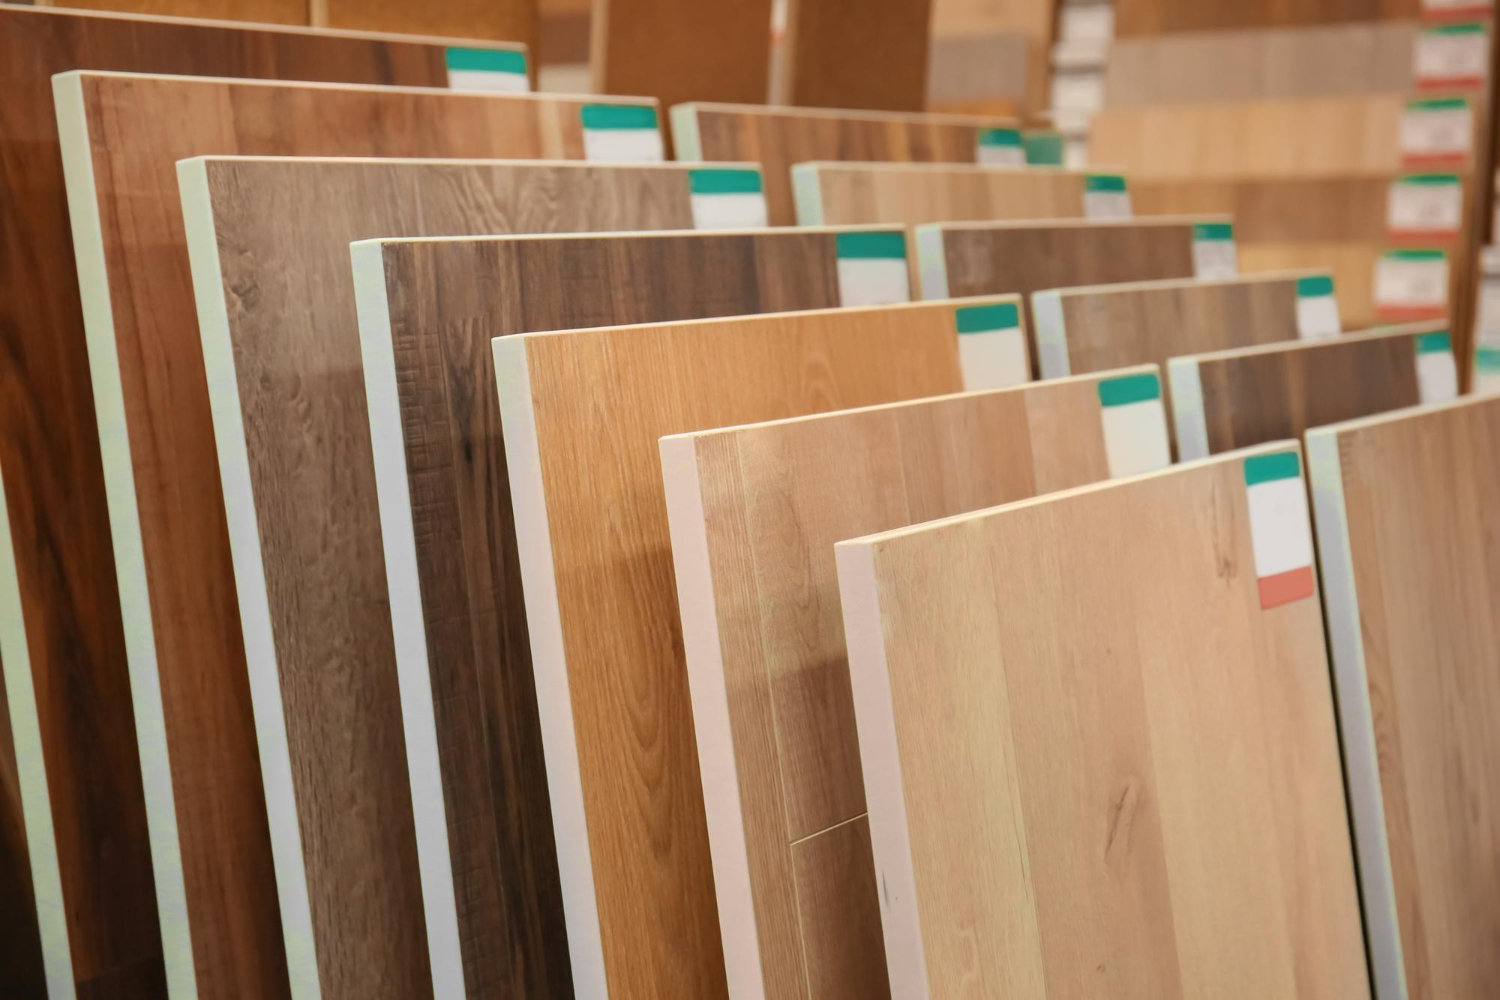
If you’re not sure what type of flooring you have, remove a floor air vent and take a look. Solid and at least 3/4-inch thick flooring is ideal for refinishing. If you see individual layers of thin wood, you have engineered flooring. Refinish with caution, if at all. Properly identifying your flooring type ensures you use the best refinishing methods and keep your floors looking beautiful.
The wear layer of an engineered wood floor is the top layer that protects the flooring. To find out the thickness of this wear layer, you can either contact the flooring manufacturer or measure it yourself using a ruler through an air vent. Knowing the thickness of the wear layer is crucial for maintaining and refinishing your engineered wood floors.
How Much Does It Cost to Refinish Hardwood Floors Yourself?
Refinishing hardwood floors yourself can save you much money than hiring a professional. If you’re up for the challenge, DIY hardwood floor refinishing is a cost-effective way to rejuvenate your floors. Professional hardwood floor refinishing typically costs between $2* to $8* per square foot, depending on your location and the finish you choose. You can expect to pay on the higher end of this range for a dustless refinishing job, which uses special commercial vacuums.
Planning to refinish hardwood floors yourself? Rent essential tools to save money. For instance, renting a drum or orbital sander costs $160* to $270* weekly. Combined with purchasing other necessary supplies, your total expense will range from $500* to $1,000*, depending on the size of your hardwood floor project.
If you want perfection at the best price, contact our experts at Houston Flooring Company. Our knowledgeable staff is here to help with all your hardwood floor refinishing needs. Visit our website for more information.
Is It Worth It?
The joy of walking on refinished hardwood floors is priceless. According to the National Association of Realtors’ 2022 Remodeling Impact Report, refinishing hardwood floors received a perfect Joy Score of 10. This top score shows that refinishing your hardwood floors delivers the highest homeowner satisfaction and happiness.
It also achieved the highest Recovered Project Cost (RPC) percentage of all projects at 147%, surpassing even the 118% RPC for installing new wood flooring. The association calculates this percentage by comparing the estimated project cost to the added resale value of a house. If you’re searching for another cost-effective home improvement project, consider upgrading your insulation, which offers a 100% RPC.
How to Refinish Hardwood Floors Cheap
Hardwood floors are a valuable investment that significantly boosts your home’s worth. If you’re on a tight budget, DIY hardwood floor refinishing is likely your go-to option. However, you can save even more by following these cost-saving tips for refinishing hardwood floors. Learn how to restore hardwood floors on a budget and achieve professional results at home!
- Borrow necessary equipment: Ask a friend or family member to lend you the tools to refinish hardwood floors.
- Share rental costs with a friend: When renting equipment like a drum sander, choose the weekly rate, which is generally cheaper per day than the daily rate. Split the cost with a friend who is also refinishing their floors.
- Monitor sales: Floor stain and polyurethane can be expensive, but local hardware stores frequently offer discounts on specific brands. Stay vigilant for price drops and stock up when the costs come down.
How to Refinish Hardwood Floors
Ready to start your hardwood floor refinishing project? Depending on the size and scope of the job, refinishing old hardwood floors typically takes two to seven days. Get your hardwood floors looking like new with our expert refinishing services!
1. Gather Tools and Materials Needed for Refinishing Hardwood Floors
Before sanding and refinishing your hardwood floors, have the following items ready.
- Drum or orbital sander — orbital sanders are easier to use for beginners
- Plastic sheeting
- Nail set
- Putty knife
- Pry bar
- Dust mask and respirator
- Power hand sander
- Hardwood floor cleaner
- Mineral spirits
- Wood filler
- Floor buffer or pole sander
- Paint tray
- Sandpaper with various grits, ranging from 30 to 100 (see our sandpaper grit size chart below for details)
- Cotton rags
- Painter’s tape
- Shop vacuum
- Goggles and ear protection
- Stain (optional)
2. Prepare the Room
To properly refinish your floors, you’ll need full access to them. Begin by removing all furniture, rugs, and window treatments. Then, remove any doors and use a pry bar to lift the shoe base molding or quarter round. Number each piece with a pencil to ensure easy reinstallation. If there are no shoe base moldings, you can either carefully remove all the baseboards or leave them in place, not damaging them with the sander. Next:
- Examine the floor for any protruding nails. Use a nail set to drive them below the hardwood surface, ensuring no nail heads are exposed. Nails not flush with the floor can damage sanding belts and hinder your progress.
- Use wood putty and a knife to repair any floor damage, such as holes or scratches. Secure squeaky or loose floorboards with finishing nails.
- Thoroughly clean the floors using a hardwood floor cleaner or a homemade mixture of vinegar and water. Ensure the surface is completely dry before proceeding with sanding.
Refinishing hardwood floors can produce a lot of dust, but the result is well worth the effort. As the saying goes, you’ve got to crack a few eggs to make an omelet. Cover vents with painter’s tape and seal doorways with plastic sheeting to minimize cleanup.
3. Sand Your Old Hardwood Floors
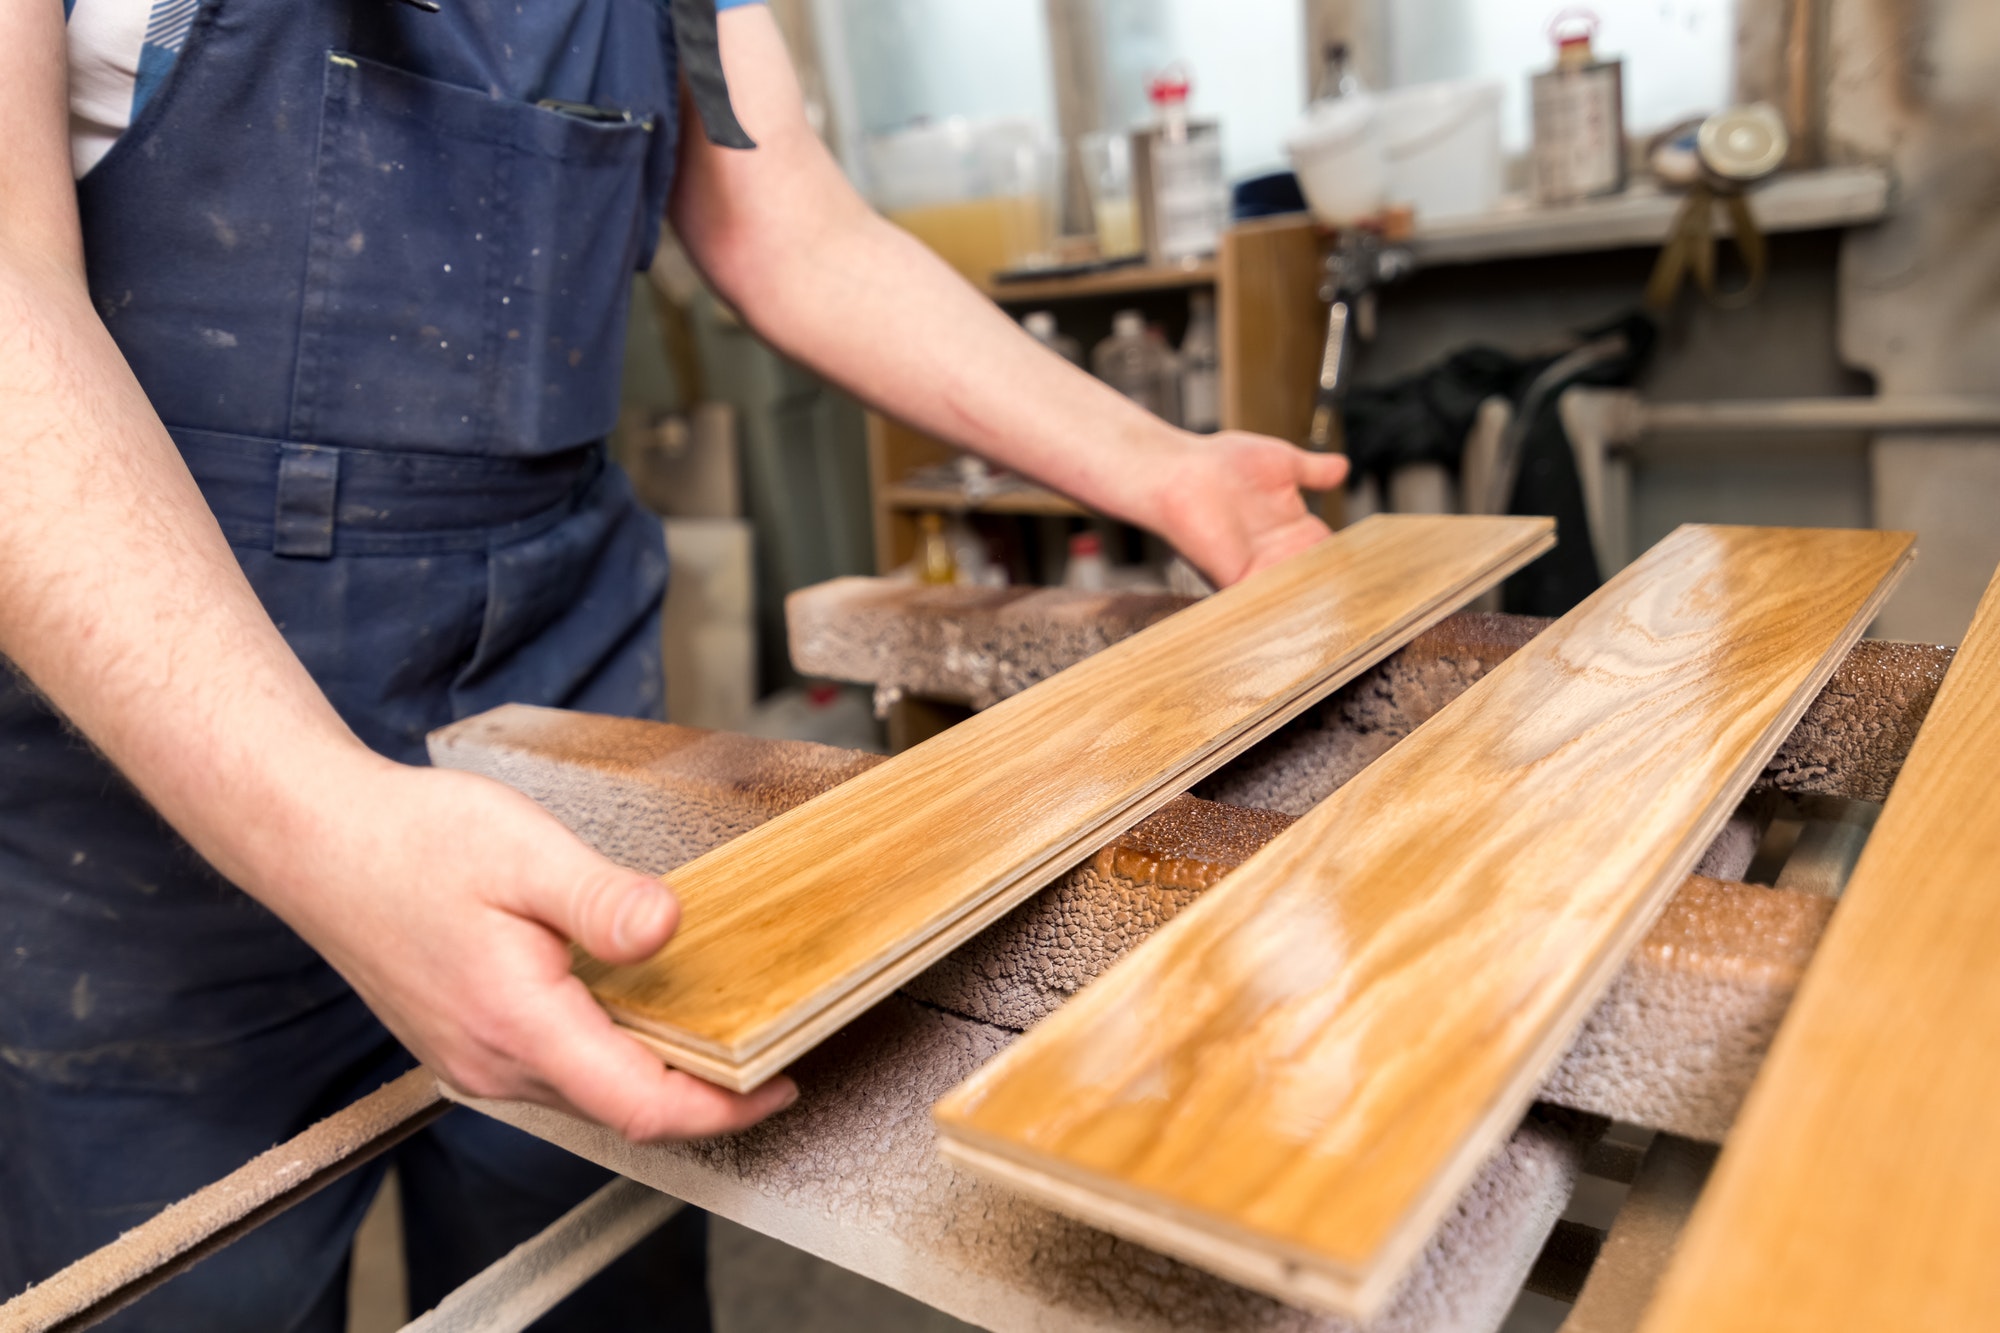
Grab your dust mask, goggles, and ear protection—it’s time to start sanding your hardwood floors. First, prepare your drum or orbital sander by attaching the coarsest grit sandpaper. Position the sander to move with the wood grain for the best results. For warped floors, go diagonally with the grain but never directly against it. Sanding hardwood floors properly can help you achieve a smooth and beautiful finish.
How to Identify Wood Grain Direction
You’ll observe a grain pattern in the wood when examining your floors. Run a gloved hand or a rag along a board’s surface to identify its direction. If it snags or you encounter splinters, you are moving against the grain. If it feels smooth, you are moving with the grain.
Tips for Successful Sanding
If you’re new to using a drum sander, it’s wise to practice on a piece of plywood before tackling your floors. Once you feel confident, follow these steps to sand your hardwood floors:
- As you turn the sander on, start moving it forward. Remaining in one spot for too long can damage the floor.
- Maintain a steady, even pace and let the sander do the work, guiding it along the grain across the room. As you proceed, pull the sander rather than push it.
- When you reach the other side of the room, shift the sander and pull back slightly, overlapping the next pass by a few inches, equivalent to the width of one floorboard. There’s no need to turn the machine around, as it can move both ways with the same effectiveness.
- Regularly inspect the sandpaper to ensure it is kept from being worn out. When it does show signs of wear, replace it with a fresh piece of the same grit until you’ve sanded the entire room once. If your sander has a dust-collecting bag, empty it frequently to avoid adding unnecessary weight to the machine.
- Sand the entire room, leaving a few inches near the walls and corners. Once you’ve completed one pass around the room, turn off the machine before coming to a stop.
- Attach the same grit sandpaper to the hand sander. Use it to finish the edges, corners, and small spaces like closets. Move semicircularly, overlapping the completed areas for a seamless blend.
- Vacuum the floor thoroughly before starting the second round of sanding.
- Repeat all steps twice, each changing to a finer grit sandpaper, progressing gradually from coarse to medium to fine.
Sandpaper Grit Size Chart
Following the proper grit sequence when sanding your hardwood floors is crucial. The correct sequence for your project depends on the condition of your old hardwood floors and the type of wood. If your floor is heavily damaged, start with a coarser grit. Gradually move to finer grits to achieve a smooth finish. Avoid skipping from a coarse grit to a fine grit to prevent scratches on your hardwood flooring. Properly sanding your hardwood floors ensures a beautiful, durable finish.
Typically, 36-grit, 60-grit, and 80-grit sandpaper are effective. However, depending on your floor’s condition, you may need to begin with a coarser grit or finish with a finer one. If uncertain, test a small area with 36-grit sandpaper. You’ve found the correct starting grit if the surface becomes bare and free of flaws. If not, opt for a coarser grit. The table below outlines standard sandpaper grit sizes and their recommended uses.
4. Buff Your Floors
Buffing is the crucial final stage of the sanding process. It effectively removes any leftover imperfections or marks from the sanding. While some may skip this step, buffing ensures the smoothest finish possible. Don’t overlook the importance of buffing in your sanding routine for the best results in achieving a flawless, polished surface.
Use a floor buffer or hand-held pole sander with a fine 120-grit sanding screen to achieve a smooth wood floor finish. Buff along the wood grain, just like during sanding, for best results. Give the floor a thorough sweep to ensure a polished look.
5. Make Sure the Floor Is Immaculate
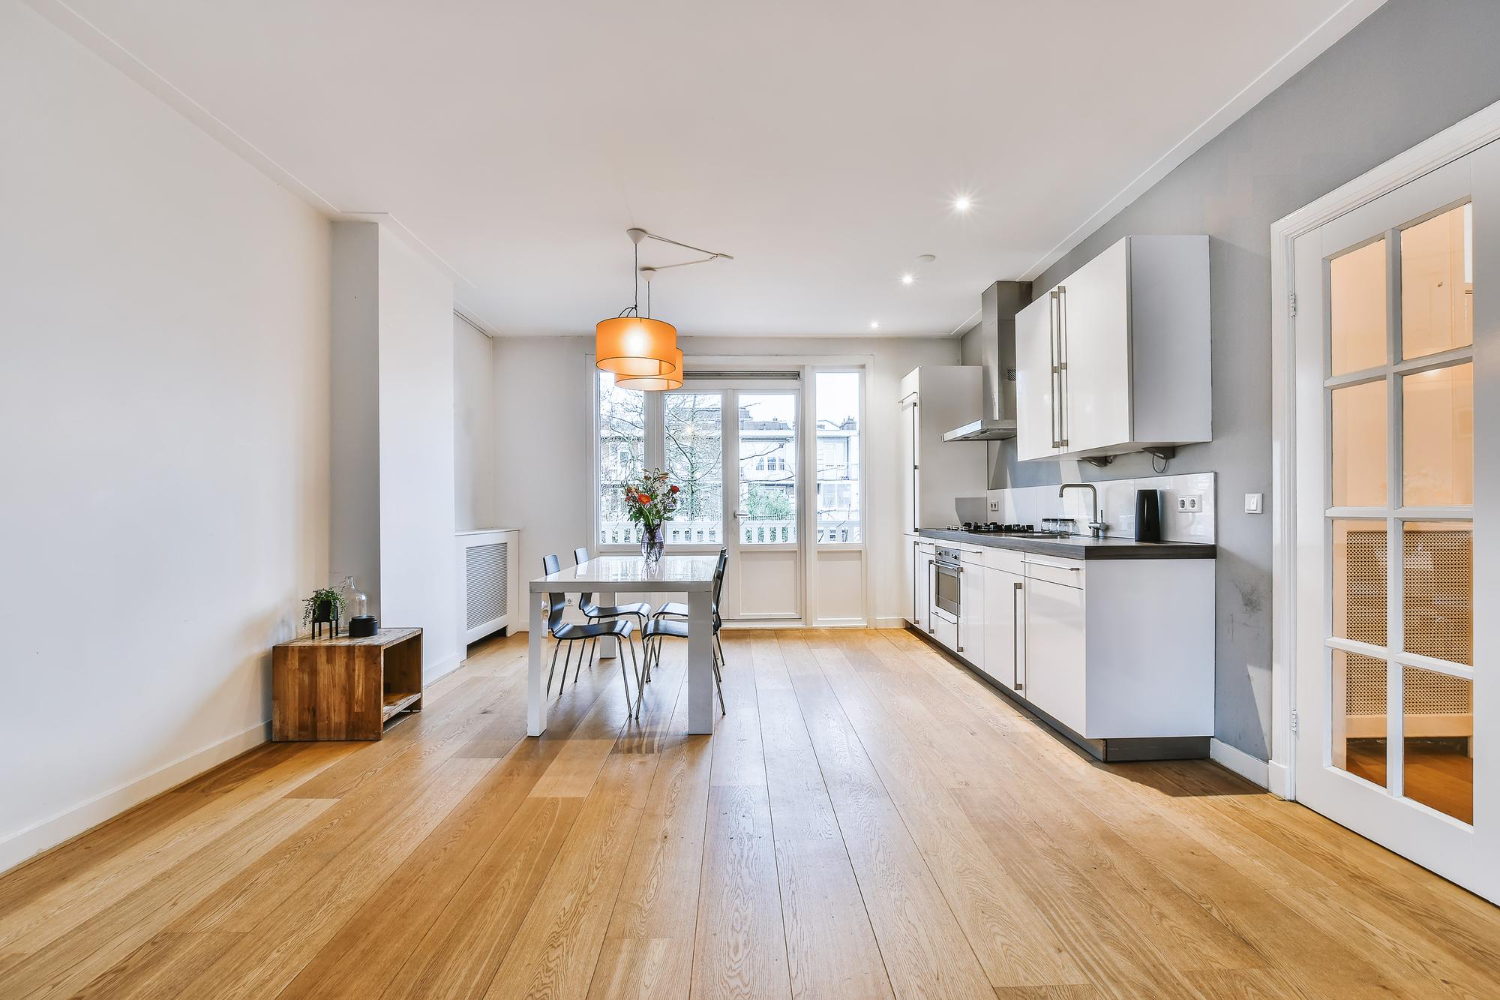
First, vacuum the floor thoroughly to remove dust and debris. Next, use a damp mop or tack cloth to eliminate any remaining dust particles. For a thorough clean, dampen a rag with mineral spirits and wipe down the floor one last time. Finally, allow the floor to dry completely. This process ensures a spotless, dust-free floor, perfect for any cleaning routine.
6. Stain the Floor (Optional)
If you wish to change the color of your floor, it is now ready for staining. This step is optional—if you prefer the natural look of bare wood, proceed to step 7. Should you decide to use a stain, follow the instructions below to apply it:
- Open the windows and ensure the area is well-ventilated. Wear a respirator.
- Using a paintbrush or cloth, apply the stain following the direction of the wood grain. Begin in a far corner and work toward the door, ensuring you can leave the room without stepping on the wet stain.
- Concentrate on one-floor section at a time, such as a four-foot area.
- Before proceeding, wipe away any excess stain with a rag.
- Work swiftly to prevent the edges of your current section from drying, which can cause streaks on your floor. When transitioning to a new section, use your rag to blend the edges seamlessly.
- Stir the stain every 10 to 15 minutes.
- Let dry completely, which may take 24 hours or longer.
- Apply additional coats as necessary until the desired color is achieved.
7. Apply a Finish Coat
A quality finish coat is essential to sealing and protecting your floor from water damage and everyday wear. You can also add a beautiful shine and a touch of color by choosing the right type.
You can select the type of sheen for your hardwood floors, determining how much light they reflect. Options range from matte (low luster) to high-gloss. Keep in mind that high-gloss finishes can highlight minor imperfections. While polyurethane is the most popular hardwood floor finish, other options are gaining popularity for their ability to enhance the natural beauty of wood floors.
If you choose to skip stain, apply a sanding sealer before the finishing coat. To do so, apply a thin coat of sanding sealer to the entire floor and allow it to dry fully. Then, sand the floor using fine-grit sandpaper. Clean the floor thoroughly, and you’re ready to move on to the finish coat.
Finish Coat and Top Coat Options
- Water-based polyurethane — Low in volatile organic compounds (VOCs), water-based polyurethane offers a clear finish and quick drying time. Though it emits fewer toxic chemicals compared to oil-based options, it is generally more expensive. Additionally, achieving the desired finish may require applying several coats.
- Oil-based polyurethane — Oil-based polyurethane, known for its high VOC content and slow drying time, imparts an amber hue that can turn yellow over time. While it is generally more affordable than water-based alternatives, it requires using a respirator during application.
- Wax — Wax serves as a final top coat for your floor. Although it doesn’t provide robust protection against moisture or deep scratches, it is a protective seal. It enriches your floor’s patina, giving it a more luxurious appearance.
- Natural oils — Unlike polyurethane, a surface finish, natural oils such as tung and linseed penetrate deeply into the wood, offering wear resistance with just one coat. Oil finishes are often chosen to enhance the wood’s natural beauty or impart a warmer, more rustic appearance.
We recommend avoiding the use of varnish or lacquer. While “varnish” is often misunderstood to mean a finishing coat, it is generally intended for outdoor projects. Lacquer, on the other hand, is best suited for indoor furniture, providing a high-gloss shine.
Finish Application Tips
Here are some tips for applying a polyurethane finish:
- Start by painting the edges of the room with a paintbrush. Cover approximately 12 inches of the floor from the wall towards the center, following the wood grain direction.
- Maintain a wet brush and strive to prevent bubbles and drips.
- After completing the perimeter, use a lamb’s wool applicator or foam roller to finish the rest of the room for even and smooth coverage.
- Remember to work toward the exit while still applying with the grain. Once you begin to apply the polyurethane, you cannot step on the floor.
- Make sure to work toward the exit while applying polyurethane with the grain. Once you start, avoid stepping on the floor to prevent any damage.
- Allow to dry completely following the manufacturer’s instructions, usually at least 24 hours. Depending on temperature and humidity, a longer drying time may be necessary.
- Repeat the steps to apply a second coat or additional coats in high-traffic areas. The more coats you apply, the more durable the finish will be. You may need to buff the floor between coats. Refer to the manufacturer’s instructions for specific details. If buffing between coats, ensure you clean thoroughly to remove all dust.
Keep Your Refinished Floors Looking New

Now that you’ve finished sanding and refinishing your hardwood floors, keeping them looking their best is crucial. Regular vacuuming is essential for hardwood floor maintenance. Debris left on the floor acts like sandpaper, causing scratches and wear. Ideally, sweep and use a dust mop daily to remove debris. Follow up with a vacuum using a soft brush attachment or setting to pick up fine particles. If daily cleaning isn’t possible, at least quickly sweep high-traffic areas. This simple hardwood floor care routine will help maintain their beauty and durability.
For thorough hardwood floor cleaning, use a damp microfiber mop or cloth with a gentle cleaner or a water and white vinegar mix. To prevent damage, avoid soaking the floor or using a steam mop. Damp mop hardwood floors as necessary. Clean high-traffic areas weekly and other areas monthly for optimal maintenance and longevity.
Refinishing hardwood floors demands effort and careful planning, but transforming old floors to a like-new condition makes it truly worthwhile.
Conclusion
Refinishing your hardwood floors can breathe new life into your home, enhancing its beauty and value. With a clear step-by-step guide, the right tools, and a bit of patience, this DIY project can be both rewarding and cost-effective. Remember to assess your floors regularly and refinish them when necessary to maintain their elegance and durability.
Houston Flooring Company Texas is here to assist those in Houston, TX, seeking professional advice or high-quality materials. Whether you need guidance on your DIY project or prefer professional refinishing services, we are your trusted experts in hardwood flooring. Visit our website or contact us today to learn how we can help you achieve stunning, long-lasting floors.
(* Please note that the prices are approximate and may fluctuate. Contact us for the most current pricing.)


